Customizing a PC is quite an experience. From the search for particular parts to all the studies and experiences you learned from other people, one thing is undeniable – it is not a fitting journey for the weak. Setting up a PC can be complicated, particularly if you are not knowledgeable on how to handle the components, and reviewing the manual is simply not enough. It even becomes more challenging if you are trying to figure out how to install motherboard standoffs.
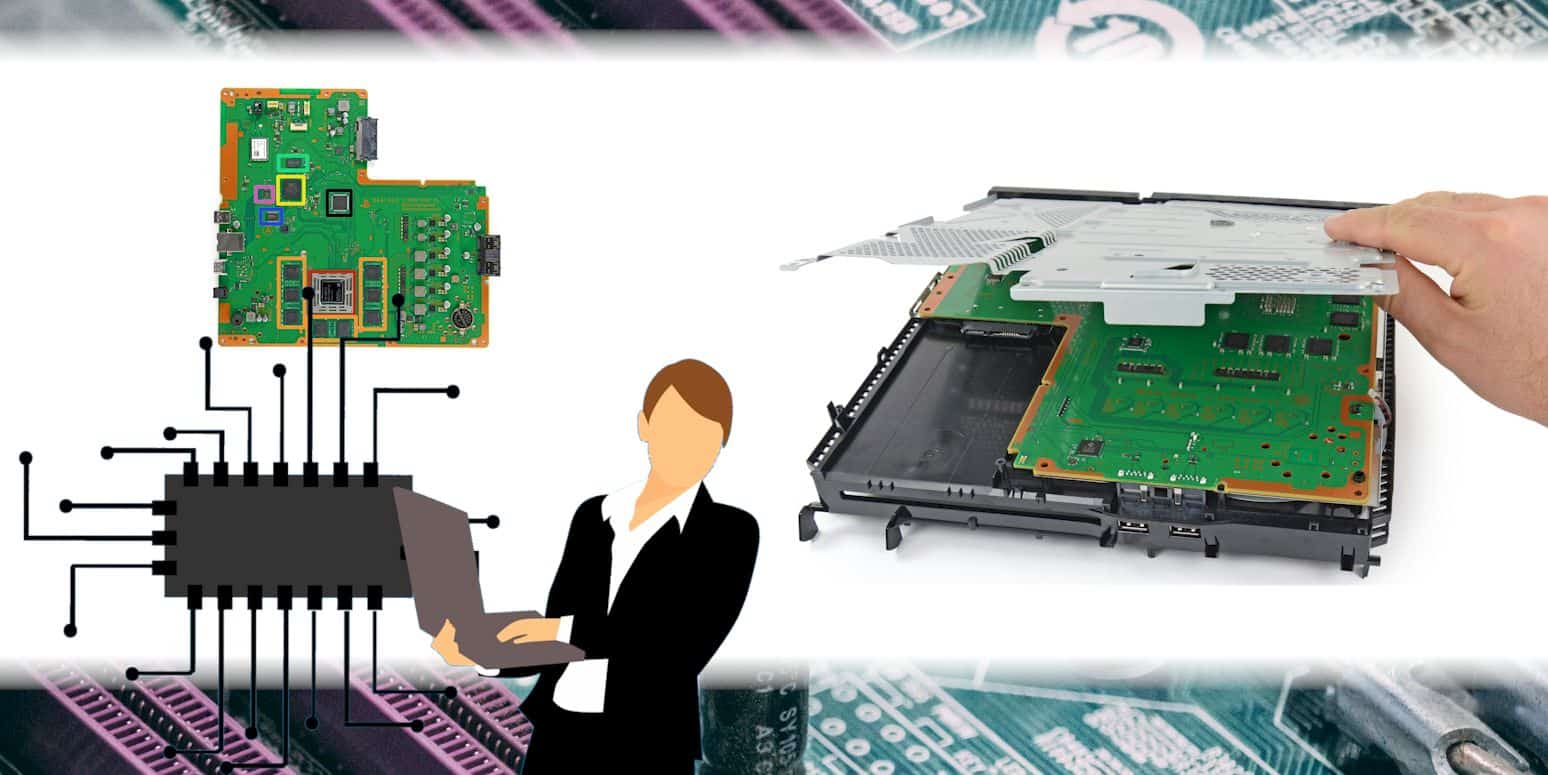
The motherboard is the foundation of the computer. The entire computer parts are plugged into the motherboard. Thus, making sure that the motherboard is properly installed is the first thing to do towards setting up the computer or boosting the old one. However, there are minor things that become a concern and one of them is motherboard standoffs. What are these and how do you install them?
Do I Need to Install Motherboard Standoffs?
Motherboard standoffs are available in two common flavors, namely plastic and metallic. Although they were built from various materials, they render the same service for the common parts.
They secure the electrical circuits far from the conductive metal that composes the computer case. While they keep the space underneath the motherboard free, it becomes possible to attain a sufficient volume of airflow at the base of the board. This behavior contributes to tempering the board while in operation since air can be expected to flow more smoothly.
Motherboard standoffs also secure the board to its case. This guarantees that all parts that are attached to the motherboard are securely mounted if the task is performed well.
Related: The Motherboard for i9 9900k
How Do I Know What Motherboard Will Fit in my Case?
If you are worried about the sizes, you just have to know the specs of your case and the motherboard from their manufacturers. Generally, they record the form factor of the motherboard, which your case holds up. Provided that they are in sync, you should be okay to go.
The usual form factors are ATX, Extended ATX, Micro-ATX, and mini-ITX. Although there are several other form factors available, they are quite hollow. If you are using a standard tower-style desktop, you are likely to get a micro-ATX or standard ATX motherboard.
Which Must Be Done Before Installing a Motherboard Into a Case?
Before installing a motherboard into a case, it is important that you first take charge of the two other works – the installation of the custom I/O shield of the motherboard and the installation of the cooler and CPU.
You should know that you cannot install the I/O shield the moment the motherboard is already installed. Hence, you should mount it before you lock the mobo. And if the case does not have the appropriate cutouts in the motherboard tray to permit installations of CPU cooler on the already mounted motherboard, manage that task before mounting the board.
Some of the prevailing concerns that are encountered by the new system creators are linked to the brass standoffs attached in many cases. Since brass is a comparably soft metal, removing the threads is likely easy. Make sure to only use sufficient force to hold them tight against the tray of the motherboard. Usually, tightening through fingers would be enough.
Be careful when mounting the screws that keep the motherboard in position into the standoffs to prevent despoiling the threads. Furthermore, use only a certain number of standoffs depending on the requirement of your motherboard. If there are extra standoffs beneath the motherboard that do not align with the holes of the screw, take them out. Additional standoffs beneath the motherboard can trigger a short lifespan of the board or eventually damage it.
Related: Best Motherboard for Ryzen 7 2700X
How to Install Motherboard Standoffs?
In the first instance that you prepare yourself to mount a motherboard in a case, it is expected that you will have to gauge where to mount the standoffs first. The wall inside the computer case must be enclosed with threaded screw holes that let the case get an array of board structures. You should only use those that are particularly designed to suit the motherboard. Thus, you should not casually screw in your standoffs.
The simplest method of identifying which, among the threaded holes are to be used is by carefully putting the motherboard in the case for you to observe the manner of alignment of the screw holes to the board with the holes on the interior of the case. After aligning all of them, use Sharpie or a felt tip marker to create a mark on every screw hole. Make sure that you do not create markings on the motherboard.
After marking all screw holes, remove the motherboard from the case and install the motherboard standoffs. You should get a pair of pliers to make sure that you will firmly mount the standoffs. Make sure that you tighten the standoffs well, however, remember not to overdo it. It is not advised to use an adhesive or any type of glue to keep them in position because of problems with heat as well as the chemicals embroiled.
Related: Motherboard for Ryzen 5 2600
Bottom Line
When setting up a PC, one of the several things that the majority of the newbie can slip up is the value of motherboard standoffs. Essentially, these are not a mere alternative for the PC, rather they are a necessity. They play a significant part in guaranteeing that the motherboard will not be in contact with the case.
The installation of motherboard standoffs is quite easy. All you have to do is perform what is directed in the manual that goes with the case. If you deliver the processes accurately, then you should be fine. However, just do not forget not to overdo the screwing of the motherboard too firmly. It is also worth stating that you must always be careful when working with electrical equipment when building a PC. A wrongly positioned standoff can be in contact with the board while in operations and may short it out. Thus, you should learn how to install motherboard standoffs.
Sources:
Aiden’s the name! Just your typical comic book store and EB Games VIP. I’m a full-time God of War 4 obsessed, bagel loving, DOTA2 warrior in training, and an IT professional on the side haha. I’m always keen to connect, so hit me up if there’s anything specific question you’d like answered.