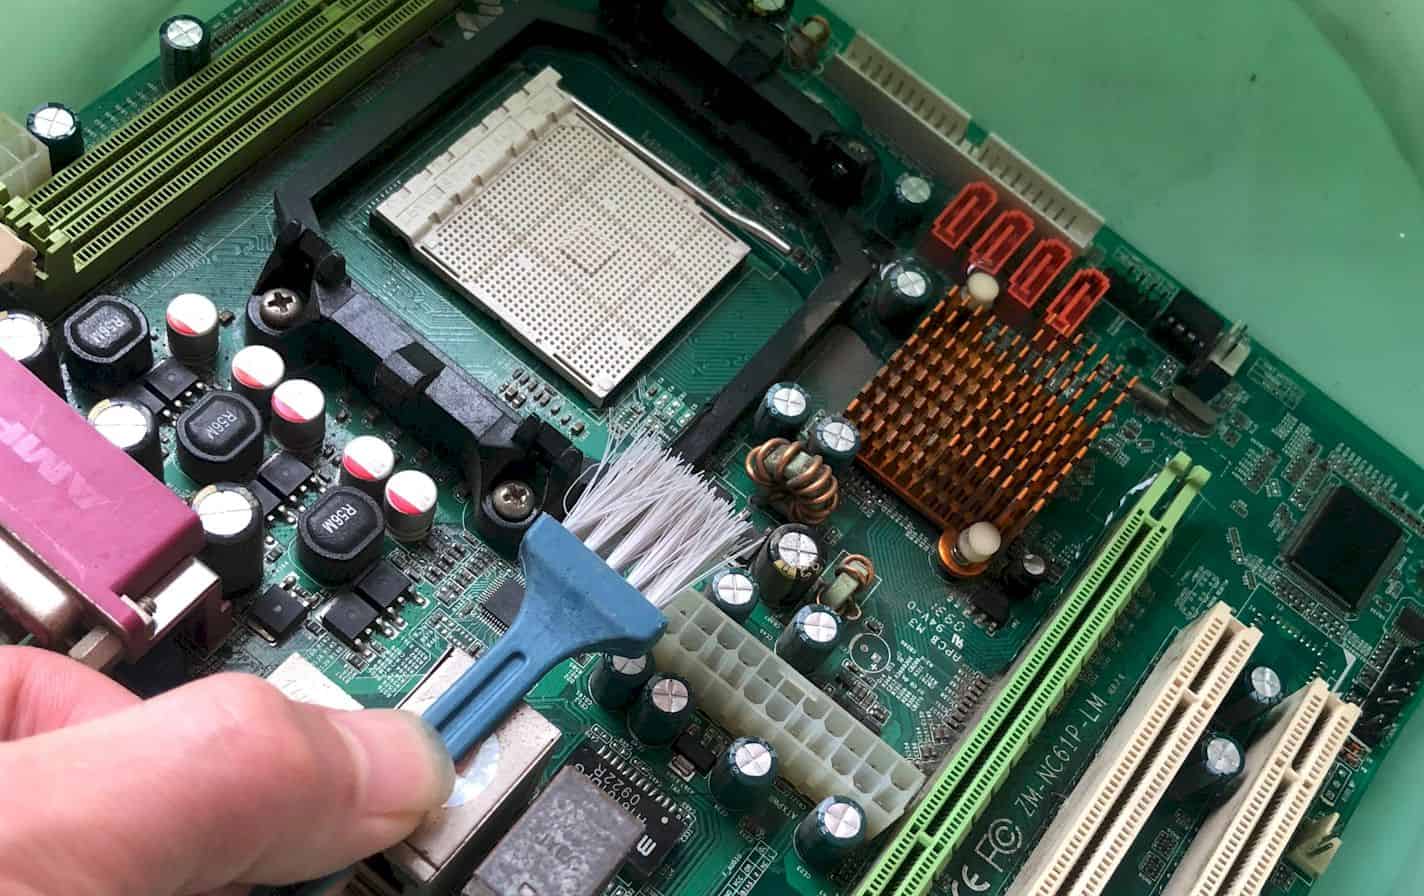
Before installing your motherboard, it is important to subject it through a lot of trial-and-error phases. Here’s why; you really do not want to install the motherboard before realizing that it is faulty or it just won’t function properly.
Then, you’ll have to go through the excruciating process of uninstalling it, returning it, and shopping for another. To save yourself this stress, it is important to know how to test a motherboard before installing it. It just makes the entire process of shopping for a motherboard and installing it so much easier.
Without further ado, here is how you can test the authenticity and function of any motherboard you purchase - online or at a brick-and-mortar store.
Why test a motherboard before installing
Installing a motherboard can be an excruciating and complicating process, especially for beginners. You can call it quits even before you get to the installation stage. Here’s the thing! Before you went shopping for your new motherboard, there certainly was an old one. Hence, to install the new motherboard, you have first to uninstall the old one.
Now, imagine that after going through the excruciating process of uninstalling the old motherboard and installing the new one, you realize there’s a fault with the new motherboard. After all, you can’t 100% trust that nothing happened to the motherboard while being shipped to your country or city.
Sure, you can uninstall the faulty motherboard and request another one, but you would have had to go through the intimidating process of installing and uninstalling the motherboard.
Frankly, it would be a lot more time-consuming and stressful if circumstances make you go through tons of motherboards before you find the one that’s without fault. Although that sounds absurd, it could be a possibility.
So, rather than waste your time installing a motherboard that might be faulty, you shouldn’t skip the testing process. Now, grab a glass of wine, buckle your seat belt and let’s get right into the process of testing a motherboard before installing it.
Step-by-Step Guide on How to Test A New Motherboard
To test your motherboard, you’ll need;
- Power supply
- CPU cable
- 24 pin PSU connector
- Graphics Card or APU processor
- Screwdriver or Tiny micro switch cable.
- Step One: Get yourself a good power supply and the necessary tools to make the installation process easy. There’s no specific power supply brand that’s the best. You have to ensure that the power supply is a good one.
- Step Two: Plug your 24-pin connector into the motherboard. Connect the other end of the 24-pin connector to the power supply. By now, your RAM should have been inserted into the motherboard and your CPU cable is already plugged into your power supply. If you use an APU processor, you don’t have to bother about inserting your graphics card because an APU processor comes with built-in graphics. Unless you do not have an APU processor, go on to install your graphics card.
- Step Three: Plug your HDMI cable that’s been connected at the other end to your monitor into the APU (or GPU) processor. There would be a slot designed for your HDMI cable in the APU. That’s the slot the cable goes into.
- Step Four: Plug your power supply into a wall outlet. Then, switch the wall outlet on. A word of caution: do not plug in the power supply cable into the wall outlet while it is on. It could birth dangerous circumstances for the motherboard and you.
- Step Five: Turning on the wall outlet is not enough to get the motherboard started. You’ll need either a tiny cable that has a micro switch or a screwdriver. Using a cable with a micro switch is the better option. Proceed to insert the cable into the power switch jumper on the motherboard.
- Step Six: Press the other end of the micro switch cable to power on the motherboard. By now, the cooler in the motherboard should have started spinning to show that power flows through the board and to the monitor. The motherboard would go on to display on the monitor.
- Step Seven: Once you’ve inspected the motherboard via the monitor, you can initiate the installation process; if all is well with the motherboard before initiating the installation process, power off the motherboard using the micro switch. Long press the micro switch, and it would power off both the motherboard and the power supply.
- Step Eight: Remove the cables connected to the motherboard. Start with unplugging the HDMI cable. Once the cables are out, insert the motherboard into the case and start building your PC. However, if the motherboard is faulty, don’t hesitate to return it to the seller and request another one or a refund so you can buy it elsewhere.
Related: X370 Motherboards
Final Words
Installing a motherboard is as easy as building a PC. If building a PC is easy enough for you and you trust the seller you’re buying your motherboard from, you could skip the motherboard testing process. However, we strongly advise against skipping the testing process. It is a crucial process. Now that we’ve shown you how to test a motherboard before installing it, put this knowledge to use - save yourself the frustration of dealing with a faulty motherboard later down the track!
Aiden’s the name! Just your typical comic book store and EB Games VIP. I’m a full-time God of War 4 obsessed, bagel loving, DOTA2 warrior in training, and an IT professional on the side haha. I’m always keen to connect, so hit me up if there’s anything specific question you’d like answered.
